Get Started
Project Setup
Install uv
You need to install uv to use this project. Please read the uv installation documentation for details.
Clone the Project
First, clone the repository.
git clone https://github.com/fangjunzhou/rt-gaussian-splat-renderer.git
Setup Virtual Environment and Install Dependencies
cd into the repository and install all the dependencies.
cd rt-gaussian-splat-renderer
uv sync
This will create a .venv directory under the repository. You can activate the environment with source .venv/bin/activate for development.
Check the Command Line Argument Help Page
Use
uv run start --help
to check if the project is setup correctly. You’ll see the help page at this time.
Simple Usage
Start the Renderer
The main RTGS renderer is capable of rendering .ply or .splt Gaussian splatting file. You can download the example truck gaussian splatting scene we trained here.
To render a GS scene, pass in the path to your .ply or .splt file with -o option:
uv run start -o <path/to/your/gs/file>
This should start the renderer viewer on screen:
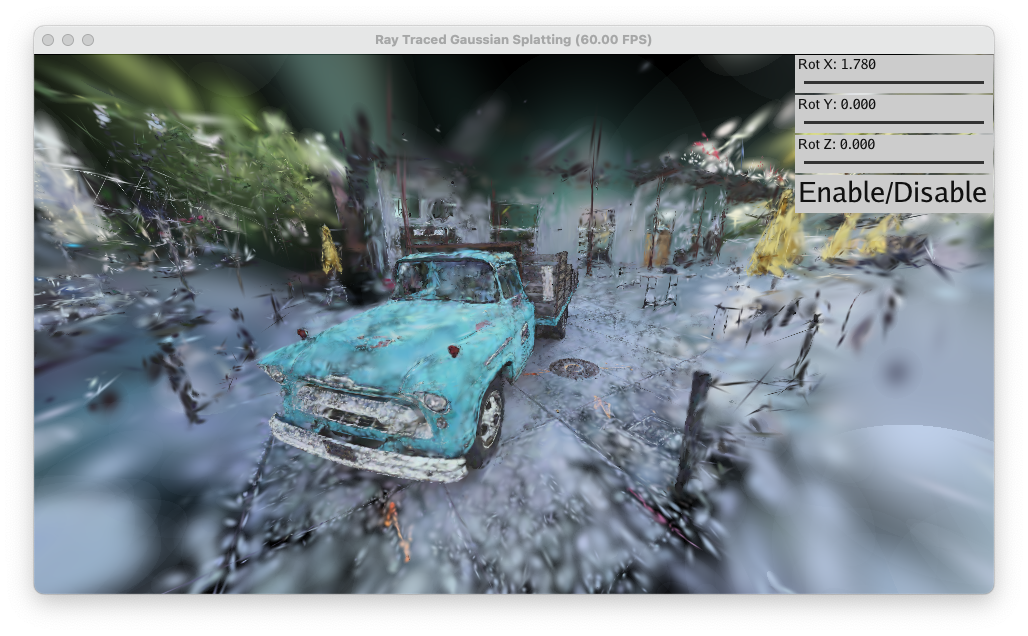
Scene and Camera Control
On the top right side of the window is the global scene rotation control and camera panning control button. For Gaussian splatting scene with arbitrary orientation, you can adjust the slider to orient the scene upwards. You can click the button to enable/disable camera panning operation. This option is provided to avoid camera movement when adjusting the slider.
To move the camera, you can left click & drag the mouse to pan the camera. You can also right click & drag the mouse to move the camera focus point (similar to moving 3D cursor in Blender). To zoom in and zoom out, you can scroll the scroll wheel.
Advance Renderer Argument
BVH Size
If you follow the previous documentation and render the example truck scene, you may find it takes a long time for the renderer to converge. This is because the RTGS uses 1024 BVH nodes in the scene by default. This is not enough for large scenes like truck.ply (truck.ply contains around 150k Gaussians).
You can use -v to set BVH size manually:
uv run start -o <path/to/your/gs/file> -v 16384
Note that it takes more time to build larger BVH. In our test environment, it takes less than 3 minutes to build a 16k size BVH. With our fast GPU parallel BVH build algorithm, it’s still safe to crank up the BVH size for faster rendering speed.
For the example truck scene, when setting the BVH size to 32k, we can build the BVH in 3 minutes and render the scene in roughly 15FPS for most viewing angles far from high density area. When the camera move close to high density area, the frame rate drops to around 5FPS.
Ray Depth
For performance reason, RTGS only renders a finite amount of Gaussians per camera ray. By default, the render depth is set tp 16. This setting can be changed with -d option:
uv run start -o <path/to/your/gs/file> -d 32